Red Velvet Cheesecake Cake Dessert: A Dreamy Layered Delight
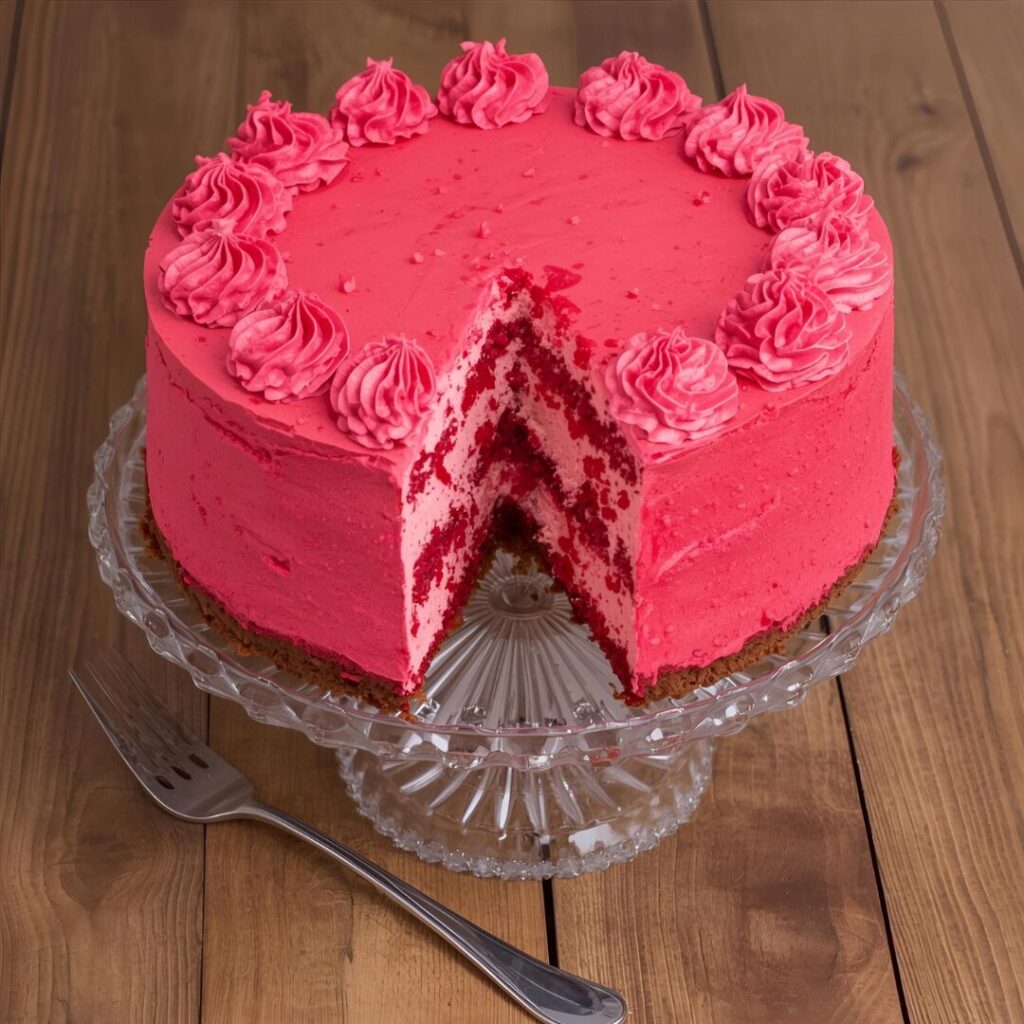
If you love the elegance of red velvet cake and the creamy decadence of cheesecake, then this Red Velvet Cheesecake Cake Dessert is your ultimate indulgence. It combines two beloved desserts — a smooth, tangy cheesecake sandwiched between moist layers of red velvet cake — finished with a silky cream cheese frosting.
This dessert is not only stunning on the table but also perfect for celebrations, holidays, or any day you want to treat yourself to something extraordinary. Each bite offers a rich, buttery texture, the slight tang of cream cheese, and a hint of cocoa that keeps you coming back for more.
Why You’ll Love This Dessert
Red velvet cheesecake cake isn’t just beautiful — it’s a flavor masterpiece.
- It blends two classic desserts into one unforgettable creation.
- The layers look as impressive as they taste, making it perfect for special occasions.
- The cream cheese frosting ties everything together with smooth sweetness.
- It stores and freezes beautifully, so you can make it ahead for parties.
- Every slice feels like a bakery-quality dessert made right at home.
Pro Tip: Bake the cheesecake layer a day ahead so it’s fully chilled and firm before layering with the red velvet cakes.
Ingredients You’ll Need
Here’s a clear breakdown of all the key ingredients for each layer.
| Component | Ingredient | Purpose |
|---|---|---|
| Cheesecake Layer | Cream cheese (softened) | Creates rich, creamy base |
| Granulated sugar | Sweetness and texture | |
| Eggs | Structure and smoothness | |
| Vanilla extract | Enhances flavor | |
| Red Velvet Cake Layers | All-purpose flour | Structure and softness |
| Cocoa powder | Subtle chocolate flavor | |
| Baking soda | Leavening agent | |
| Buttermilk | Moisture and tang | |
| Butter + oil | Flavor and tenderness | |
| Eggs | Binding and structure | |
| Red food coloring | Iconic red hue | |
| Vinegar | Enhances color, balances sweetness | |
| Frosting | Cream cheese | Tangy, smooth base |
| Butter | Creaminess and body | |
| Powdered sugar | Sweetness and consistency | |
| Vanilla extract | Flavor boost |
Pro Tip: Always use full-fat cream cheese for the best texture and flavor.
Step-by-Step Directions
Step 1: Make the Cheesecake Layer
Preheat your oven to 325°F (160°C). Line a springform pan with parchment paper and lightly grease the sides. In a large bowl, beat cream cheese and sugar until completely smooth. Add eggs one at a time, mixing on low speed to avoid incorporating too much air. Stir in vanilla extract.
Pour the batter into the pan and bake for 45–50 minutes until the center is just set. The cheesecake should jiggle slightly in the middle. Allow it to cool completely, then refrigerate for at least 4 hours or overnight.
Pro Tip: Place a pan of hot water on the lower oven rack to create steam — this helps prevent cracks in the cheesecake.
Step 2: Prepare the Red Velvet Cake Layers
Set your oven to 350°F (175°C) and grease two round cake pans. Whisk flour, cocoa powder, baking soda, and salt together. In another bowl, cream butter, oil, and sugar until fluffy. Beat in eggs, one at a time, followed by vanilla extract.
Mix in red food coloring and vinegar. Gradually alternate adding the dry ingredients with buttermilk, beginning and ending with dry ingredients.
Divide the batter evenly between pans and bake for 25–30 minutes, or until a toothpick inserted in the center comes out clean. Let cakes cool completely before assembling.
Pro Tip: To ensure the cakes bake evenly, tap the pans gently on the counter before baking to remove air bubbles.
Step 3: Make the Cream Cheese Frosting
Beat softened butter and cream cheese together until completely smooth. Gradually add powdered sugar, one cup at a time, followed by vanilla extract. Continue to beat until the frosting is light and fluffy.
For a thicker consistency, chill the frosting in the refrigerator for 15–20 minutes before spreading.
Pro Tip: Use a stand mixer with a paddle attachment for a perfectly creamy texture without overwhipping.
Step 4: Assemble the Cake
Trim the tops of your red velvet cakes if needed to level them. Place one layer on a serving plate and spread a thin layer of frosting to hold the cheesecake. Gently place the chilled cheesecake on top, then add the second layer of red velvet cake.
Frost the entire cake with cream cheese frosting, spreading evenly across the top and sides. For a professional look, use an offset spatula and chill the cake between crumb and final coats.
Pro Tip: If your cheesecake layer is thicker than the cake, freeze it for 30 minutes before stacking — it will be easier to handle.
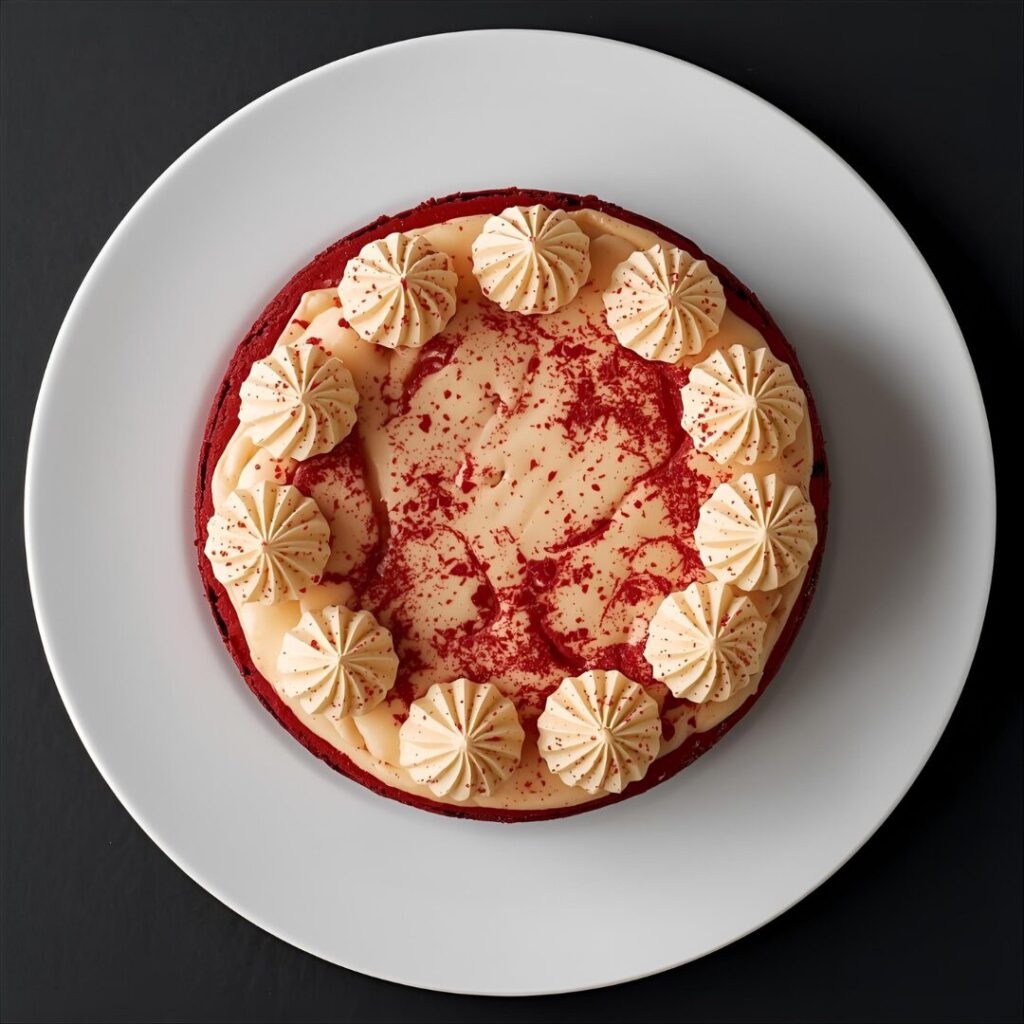
Step 5: Decorate
This dessert looks incredible even with a simple finish, but you can enhance its beauty with creative toppings.
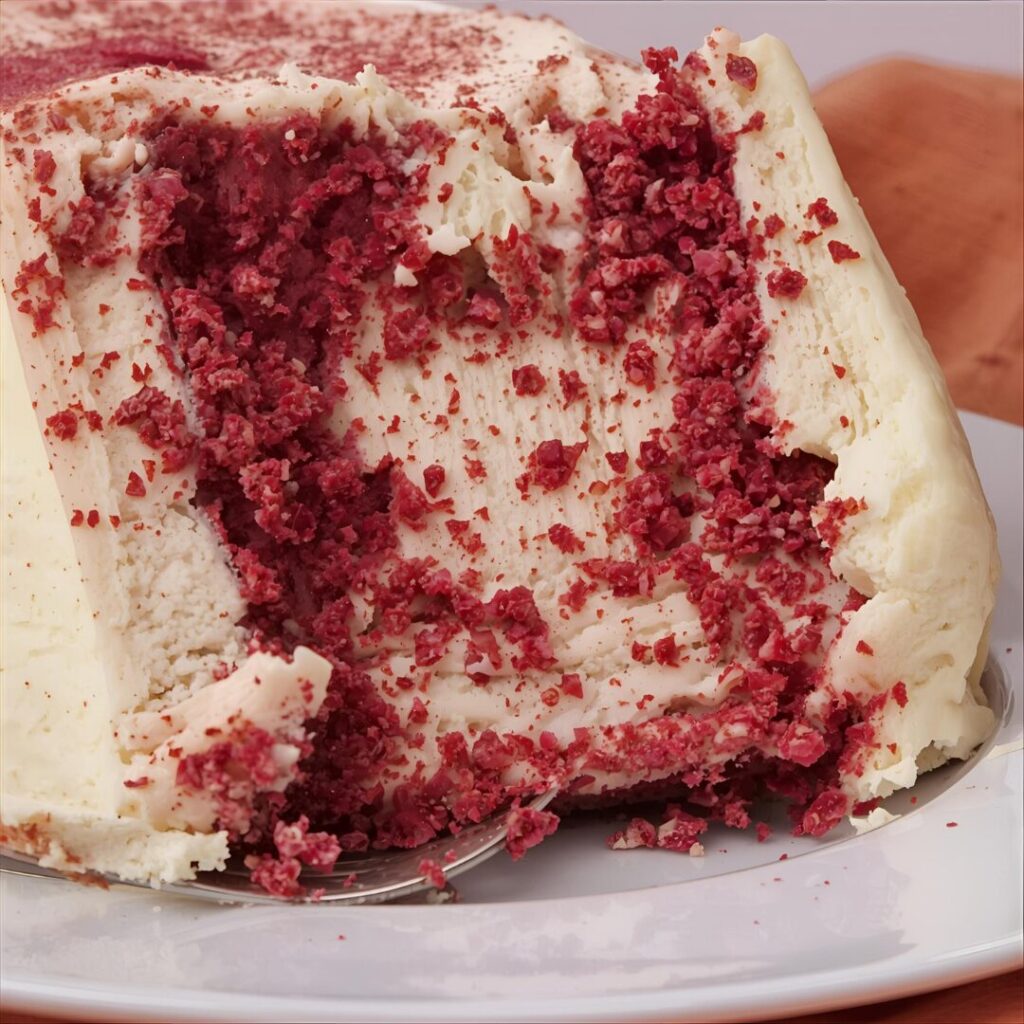
- Add red velvet crumbs around the sides or on top.
- Drizzle melted white chocolate for a bakery-style finish.
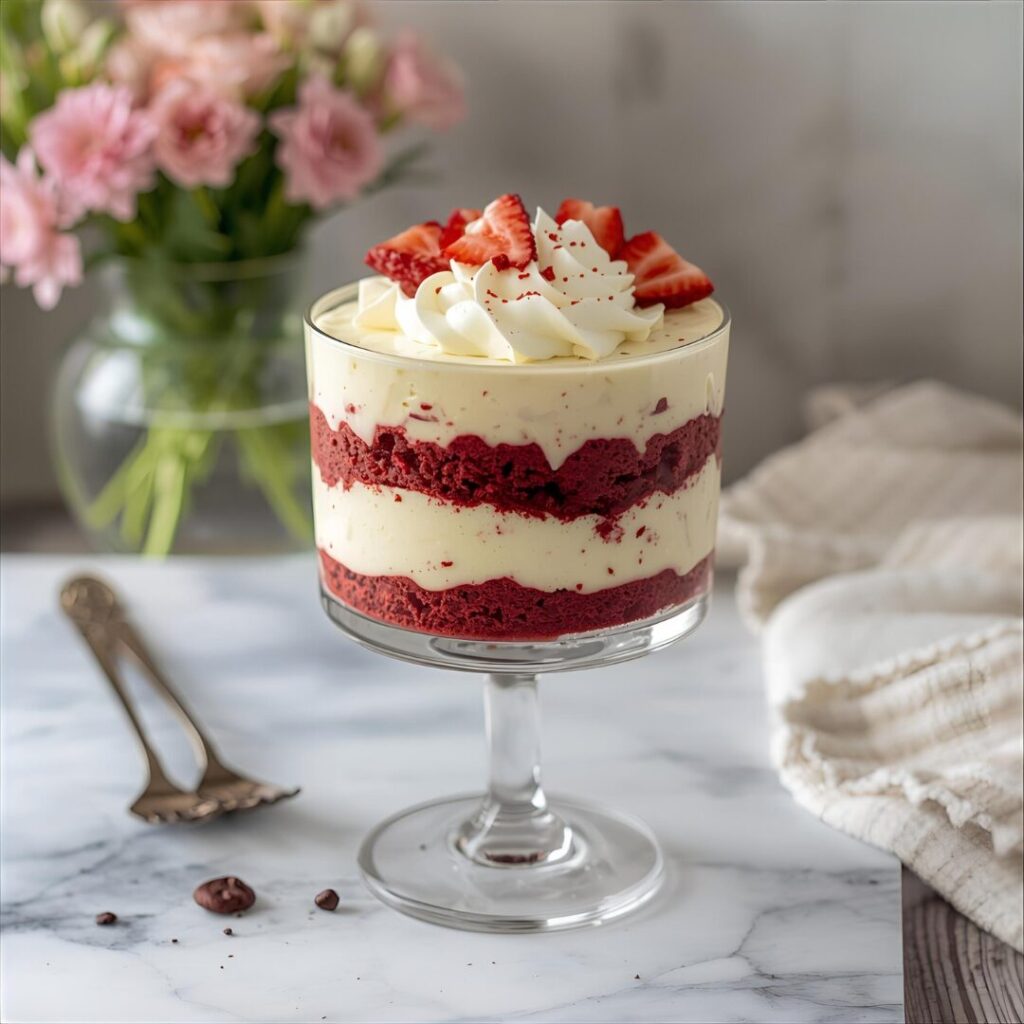
- Garnish with berries for a touch of freshness.
- Dust with cocoa powder or powdered sugar before serving.
Pro Tip: For clean slices, wipe your knife with a warm damp cloth between cuts.
Variations to Try
Red Velvet Cheesecake Cake is easily customizable depending on your mood or occasion.
Chocolate Ganache Finish
Pour a layer of glossy chocolate ganache over the top for a decadent finish. It adds richness and makes the cake look restaurant-ready.
Oreo Red Velvet Cheesecake
Add crushed Oreos to the cheesecake batter for crunch and flavor. It’s a fun twist that kids and adults both love.
Mini Cheesecake Cakes
Bake the cake and cheesecake layers in cupcake tins for individual servings — perfect for parties or dessert bars.
Strawberry Swirl
Add a swirl of strawberry puree to the cheesecake layer before baking for a fruity kick that complements the cocoa flavor beautifully.
Pro Tip: For holidays, tint the frosting pink or white and top with themed sprinkles for festive flair.
Common Mistakes and How to Fix Them
| Issue | Cause | Fix |
|---|---|---|
| Cracked cheesecake | Overbaking or no moisture | Add water bath and bake until just set |
| Dry cake layers | Overmixed batter | Mix just until combined |
| Frosting too runny | Overbeaten or warm ingredients | Chill frosting before spreading |
| Uneven layers | Warm cheesecake layer | Chill cheesecake completely before stacking |
Pro Tip: Always cool each component fully before layering to avoid melting or sliding.
How to Store and Freeze
Storing
Store the assembled cake in an airtight container in the refrigerator for up to 5 days. The flavors intensify as it chills, making it even more delicious on the second day.
Freezing
You can freeze individual slices or the entire cake. Wrap tightly in plastic wrap, then aluminum foil, and freeze for up to 2 months. Thaw overnight in the refrigerator before serving.
Make Ahead
Bake the cheesecake layer up to two days ahead and keep it chilled until assembly. The red velvet layers can be made a day in advance and wrapped tightly in plastic to retain moisture.
Pro Tip: If you’re freezing slices, separate them with parchment paper for easy serving later.
Serving Suggestions
Red Velvet Cheesecake Cake is show-stopping on its own but pairs wonderfully with a few accompaniments:
- Serve with a drizzle of raspberry or chocolate sauce.
- Add a scoop of vanilla ice cream for extra indulgence.
- Pair with coffee or a glass of milk for a comforting finish.
- For a party, top with edible glitter or gold leaf for a touch of elegance.
Pro Tip: Serve slightly chilled for clean slices and perfect texture balance between cheesecake and cake.
Nutritional Overview
| Serving Size | Calories | Protein | Carbs | Fat |
|---|---|---|---|---|
| 1 Slice (1/12 cake) | ~520 | 7g | 58g | 28g |
This dessert is rich and indulgent — perfect for sharing and celebrating.
Final Thoughts
This Red Velvet Cheesecake Cake Dessert is a stunning fusion of two iconic desserts that’s guaranteed to impress. With layers of soft, cocoa-kissed red velvet cake and silky cheesecake wrapped in tangy cream cheese frosting, it’s pure dessert perfection.
Whether you’re celebrating a birthday, anniversary, or just craving something luxurious, this cake brings a touch of bakery magic to your home kitchen. The combination of textures and flavors — moist cake, creamy cheesecake, and fluffy frosting — makes every bite unforgettable.
So preheat your oven, grab your mixer, and get ready to bake a showstopper that looks as good as it tastes. This is more than dessert — it’s an experience worth savoring again and again.