EASY DIY! How to Make Candles at Home for Beginners!
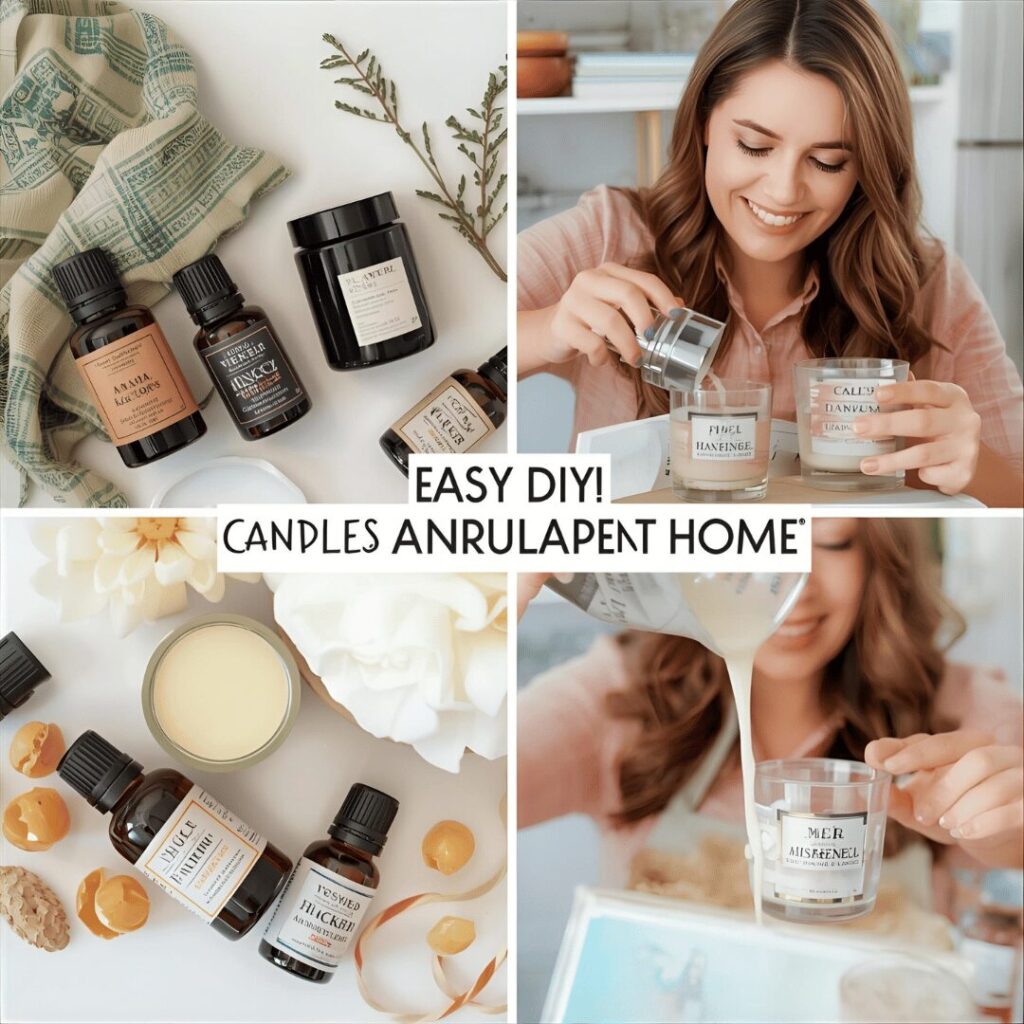
There’s something magical about the warm, flickering glow of a candle. It can transform a room, lift your mood, and create a sanctuary of calm. But have you ever looked at the price tag on a high-quality, beautifully scented candle and winced?
What if you could create your own professional-looking, custom-scented candles for a fraction of the cost? The secret is out: candle making is an incredibly easy and affordable DIY craft that anyone can learn.
This beginner-friendly guide will walk you through the entire process, from gathering supplies to pouring your first perfect candle. Forget complicated techniques—we’re using the simplest method to ensure your success. Get ready to unlock a rewarding new hobby and fill your home with scents you truly love.
Why You Should Start Making Your Own Candles
Before we dive in, let’s talk about why this is such a fantastic project for beginners:
- Save Money: Homemade candles cost significantly less than store-bought ones.
- Total Customization: Choose your favorite scents, colors, and containers to match your home’s aesthetic.
- The Perfect Gift: A handmade candle is a thoughtful, personal gift for any occasion.
- It’s Therapeutic: The process of making candles is a calming, satisfying creative outlet.
Your Simple Candle Making Supply List
The beauty of this project is that you don’t need a lot of specialized equipment. Here’s everything you’ll need to get started.

The Essentials:
- Wax: Soy wax flakes are our top recommendation for beginners. They’re natural, biodegradable, and hold fragrance beautifully.
- Wicks: Pre-tabbed candle wicks (size CD-10 or CD-12 is a versatile choice for most containers).
- Fragrance: Candle fragrance oils (for a strong scent) or essential oils (for a natural option).
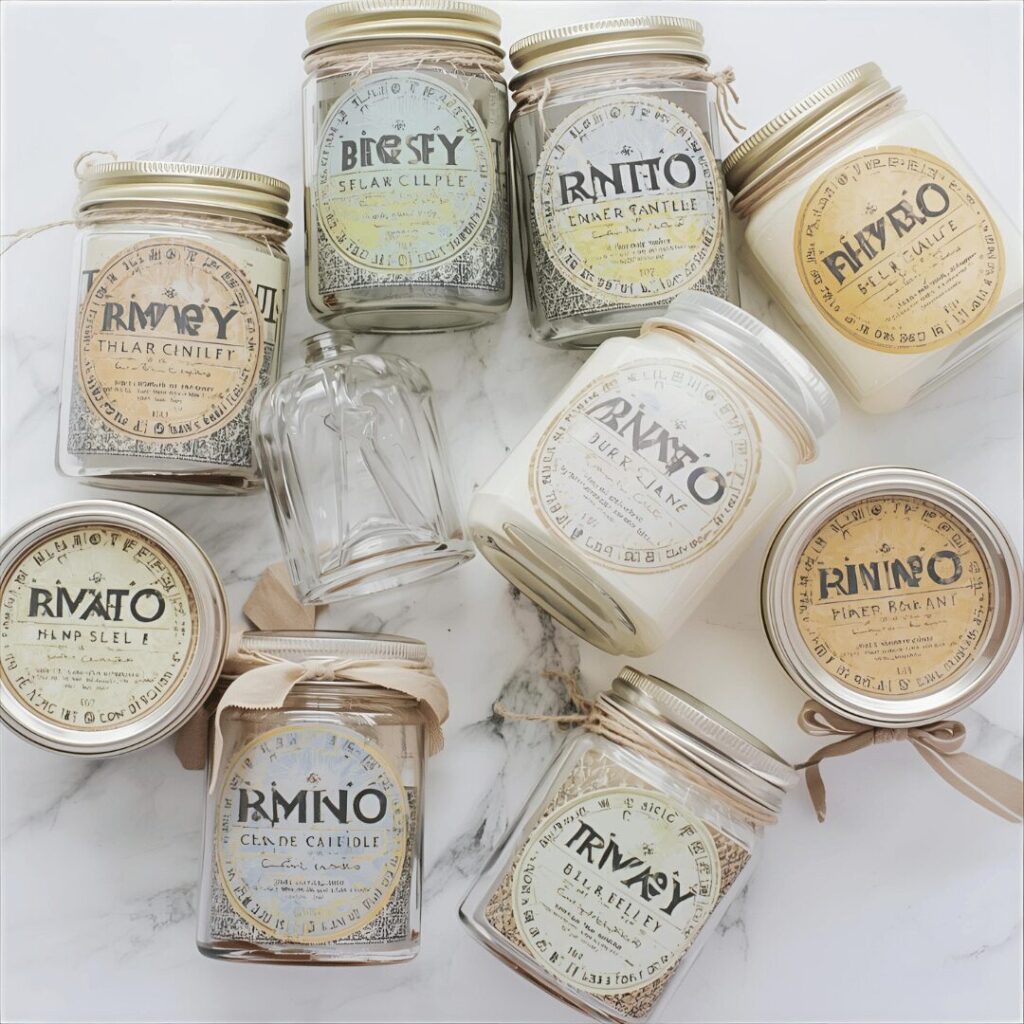
- Containers: Heat-resistant jars, mugs, or tins. Mason jars are a classic, foolproof choice.
- Double Boiler: A heat-safe pouring pitcher (or a large glass measuring cup) and a saucepan.
Helpful Tools:
- Thermometer (a digital candy thermometer works perfectly)
- Scale for measuring wax
- Wick Stickers or hot glue gun
- Chopsticks or pencils (to hold the wick straight)
- Clothespins or wick holders
Step 1: Prepare Your Candle Containers
This crucial first step ensures your candles burn evenly and look professional.
- Clean & Dry: Wash your containers in warm, soapy water and dry them thoroughly. Any dust or oil can affect how the wax adheres.
- Secure the Wick: Stick the metal tab of your wick to the bottom center of the container using a wick sticker or a small dab of hot glue. Press down firmly to ensure it’s secure.
- Center the Wick: Place a chopstick or pencil across the top of the container and wrap the wick around it to keep it centered and straight. This prevents a crooked candle!
Step 2: Melt the Wax (The Safe & Simple Way)
Patience is key here! Never melt wax directly over a stove burner, as it can be a fire hazard.
- Create a Double Boiler: Fill a saucepan with 2-3 inches of water and place it over medium-low heat. Place your wax flakes into your pouring pitcher and set it in the saucepan. The water should not boil vigorously.
- Melt Slowly: Stir the wax occasionally as it melts. This process should take 10-15 minutes.
- Watch the Temperature: Use your thermometer to monitor the wax. For soy wax, you want to heat it to 185°F (85°C). Once it reaches this temperature, remove it from the heat.
Step 3: Add Your Custom Fragrance
This is where the magic happens and your candle becomes uniquely yours.
- Let It Cool Slightly: Let the melted wax cool to about 135°F (57°C). Adding fragrance when the wax is too hot can cause the scent to “burn off.”
- Measure & Pour: A standard rule is to use 1 ounce of fragrance oil per 1 pound of wax (this is about a 6% fragrance load). Carefully pour your chosen scent into the wax.
- Stir Thoroughly: Stir slowly and steadily for a full two minutes. This ensures the fragrance is completely incorporated and will distribute evenly throughout your candle.
Step 4: Pour the Wax & Let It Cure
You’re almost there! Now it’s time to bring it all together.
- Careful Pouring: Slowly pour the scented wax into your prepared containers, leaving about half an inch of space at the top.
- Let It Set: Allow the candles to cool and harden at room temperature for at least 4-6 hours, away from drafts. As they cool, you might notice a well forming around the wick—this is normal!
- Fix Sink Holes (If Needed): If a significant sinkhole forms, you can do a “second pour.” Simply reserve a small amount of wax, re-melt it, and carefully pour it on top to fill the gap.
- The Final Cure: For the best scent throw, let your candles cure for at least 24-48 hours before you light them. For an even stronger fragrance, wait 1-2 weeks.
Pro Tips for Candle Making Success
- Wick Wisdom: Always trim your wick to ¼ inch before lighting to ensure a clean, even burn and prevent sooting.
- First Burn is Key: The first time you light your candle, let it burn until the entire top layer of wax has melted. This prevents “tunneling” and sets the candle up for an even burn for its entire life.
- Safety First: Never leave a burning candle unattended. Keep it away from children, pets, and flammable materials.
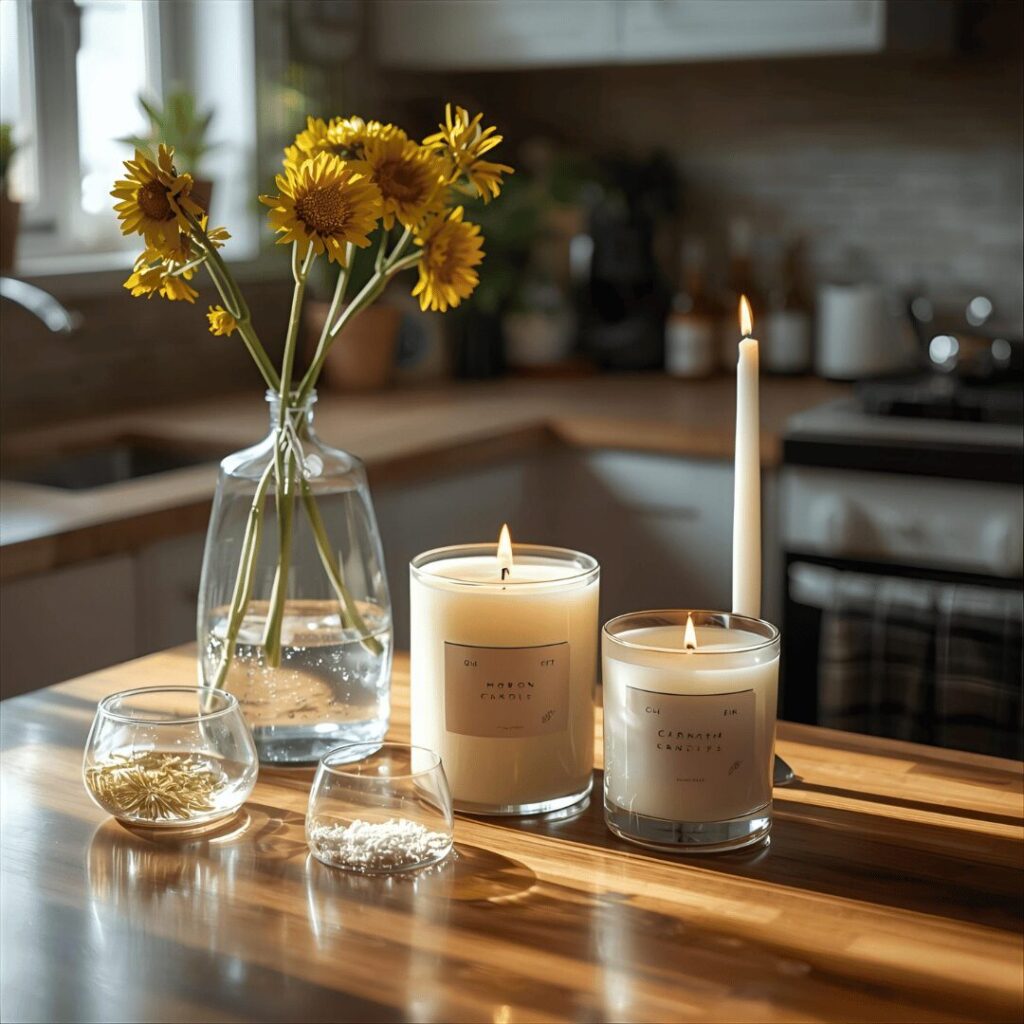
Light It Up & Enjoy!
Congratulations! You are now a certified candle maker. Stand back and admire your beautiful, handmade creation. There’s an incredible sense of pride that comes from lighting a candle you made yourself, infused with a scent you love.
This basic method is your gateway to a world of creativity. Once you’ve mastered it, you can experiment with layering scents, adding natural dyes, using different types of wax, or creating themed gift sets for friends and family.
So, what are you waiting for? Gather your supplies, pick your favorite fragrance, and start creating your own cozy atmosphere today. Happy candle making.