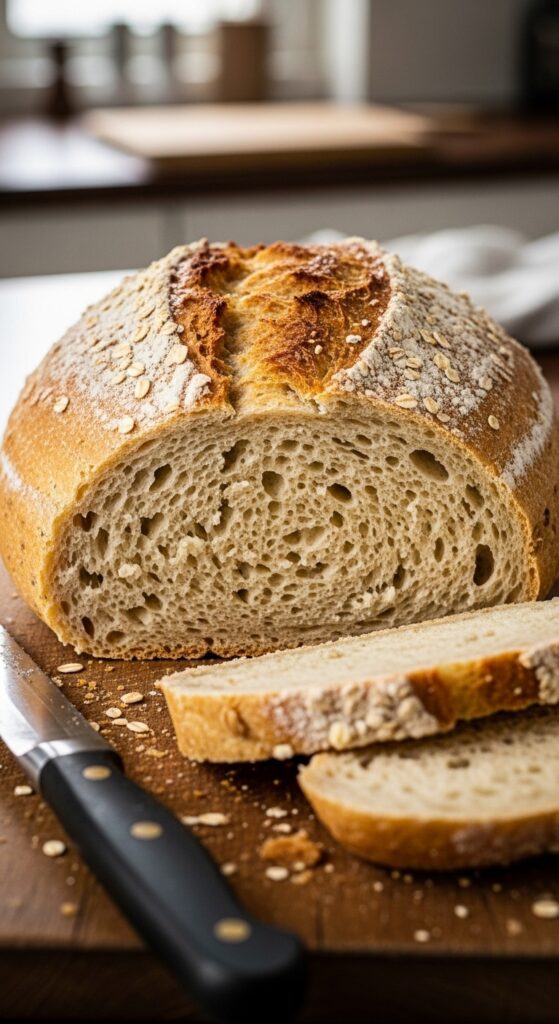
The Best Gluten-Free Bread Recipe: Soft, Fluffy, and Actually Delicious
If you’ve been searching for a gluten-free bread recipe that actually tastes like real bread—not like cardboard, not crumbly, not dense as a brick—your search ends here. This recipe produces beautifully soft, fluffy, sliceable gluten-free bread with a tender crumb and a golden, slightly crispy crust that will make you forget you’re eating gluten-free at all. Whether you have celiac disease, gluten sensitivity, or simply choose to avoid gluten, you deserve bread that’s genuinely delicious, not just “good for gluten-free.”
After years of testing and refining, this recipe consistently delivers bakery-quality results using a blend of gluten-free flours, the right binding agents, and techniques specifically designed to mimic the structure that gluten naturally provides. The result is a versatile sandwich bread that slices beautifully, toasts perfectly, and actually stays fresh for several days. No special equipment required beyond a standard loaf pan and a mixer—though I’ll share hand-mixing instructions too.
Why This Gluten-Free Bread Recipe Works
Traditional wheat bread relies on gluten to create structure, trap air bubbles, and provide that characteristic chewy texture. When you remove gluten, you need to replace both its binding properties and its ability to create structure. This recipe succeeds by:
Using a flour blend – Multiple flours work together to create complex flavor and proper texture Adding binding agents – Xanthan gum and psyllium husk powder replace gluten’s structural role Incorporating eggs – Provide additional structure, richness, and lift Including fat – Butter or oil keeps the bread tender and prevents dryness Using proper hydration – Gluten-free flours absorb liquid differently than wheat flour Allowing proper rising time – Patience creates lighter, airier texture
The combination of these elements creates bread that’s genuinely satisfying, with a soft interior that doesn’t crumble when you slice it and a crust that provides just the right amount of contrast.
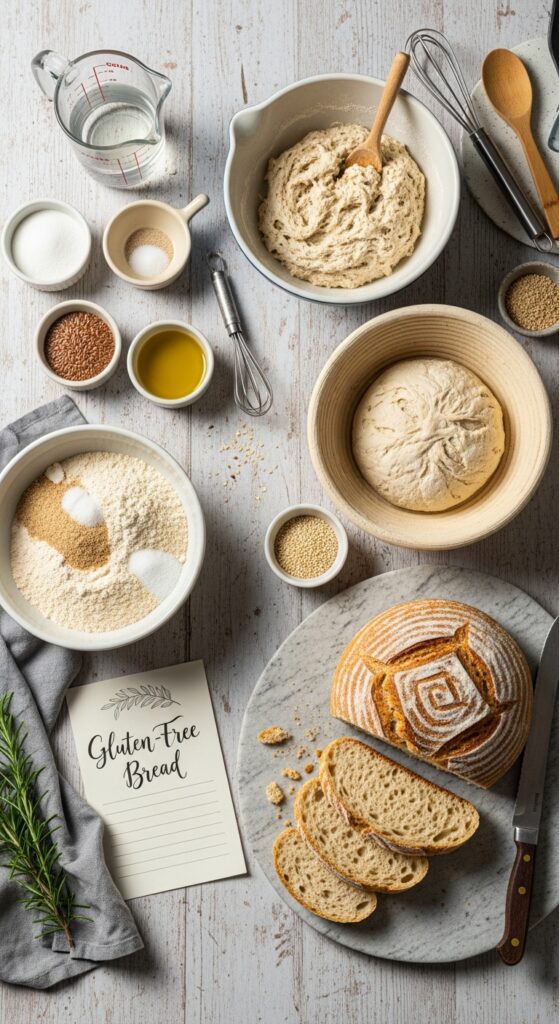
Ingredients You’ll Need
The Gluten-Free Flour Blend
For best results, use this homemade blend or a high-quality store-bought blend:

Homemade Flour Blend (makes about 3 cups):
- 1½ cups white rice flour – Neutral base, provides structure
- ¾ cup potato starch (not potato flour!) – Adds softness and moisture
- ¼ cup tapioca starch (also called tapioca flour) – Provides chewiness and helps binding
- ¼ cup sweet rice flour (also called mochiko or glutinous rice flour) – Adds stickiness and helps bind
Store-Bought Option: You can substitute 2½ cups of a high-quality all-purpose gluten-free flour blend like Bob’s Red Mill 1-to-1, King Arthur Measure for Measure, or Cup4Cup. Make sure it contains xanthan gum, or add it separately as directed below.
Additional Dry Ingredients
- 2 tablespoons granulated sugar – Feeds the yeast and adds slight sweetness
- 2¼ teaspoons instant yeast (1 standard packet) – Creates rise and flavor
- 1½ teaspoons xanthan gum – Essential for binding (skip if your flour blend already contains it)
- 1 teaspoon psyllium husk powder – Adds structure and helps retain moisture
- 1½ teaspoons salt – Enhances flavor and controls yeast activity
Wet Ingredients
- 1¼ cups warm water (110°F/43°C) – Activates yeast and hydrates flour
- 3 large eggs, room temperature – Provide structure, richness, and lift
- 3 tablespoons melted butter or olive oil – Adds tenderness and flavor
- 1 tablespoon apple cider vinegar – Helps with rise and adds slight tang
- 1 teaspoon vanilla extract – Optional but adds subtle depth
Equipment You’ll Need
- 9×5-inch loaf pan – Standard size produces perfect sandwich bread
- Stand mixer or hand mixer – Makes mixing much easier (but hand mixing works too)
- Mixing bowls – For combining ingredients
- Measuring cups and spoons – Accuracy is crucial in gluten-free baking
- Kitchen scale – Optional but highly recommended for best results
- Rubber spatula – For spreading batter
- Instant-read thermometer – Ensures proper water temperature and doneness
- Parchment paper – Makes removal easier
Step-by-Step Instructions
Preparing Your Pan
Proper pan preparation prevents sticking and ensures easy removal:
Generously grease your 9×5-inch loaf pan with butter or cooking spray, making sure to get into all the corners. For extra insurance, line the bottom and sides with parchment paper, leaving some overhang on the long sides to use as handles for lifting the finished bread out. This step is optional but makes life much easier.
Mixing the Dry Ingredients
In a large mixing bowl (or the bowl of your stand mixer), whisk together:
- Your gluten-free flour blend
- Sugar
- Instant yeast
- Xanthan gum (if needed)
- Psyllium husk powder
- Salt
Whisk thoroughly for at least 30 seconds to ensure everything is evenly distributed. This is especially important for gluten-free baking, where proper mixing prevents pockets of gum or yeast that can create texture issues.
Combining the Wet Ingredients
In a separate bowl or large measuring cup, combine:
- Warm water (test with thermometer—it should feel warm but not hot to the touch)
- Eggs (let them sit at room temperature for 30 minutes before using)
- Melted butter or oil (slightly cooled so it doesn’t cook the eggs)
- Apple cider vinegar
- Vanilla extract (if using)
Whisk these together until the eggs are completely incorporated and the mixture is uniform. The eggs should be well beaten with no streaks of yolk visible.
Mixing the Dough
Here’s where gluten-free bread differs significantly from wheat bread:
Using a Stand Mixer: Pour the wet ingredients into the bowl with the dry ingredients. Using the paddle attachment (not the dough hook—gluten-free bread batter is too wet for a dough hook), mix on low speed for 30 seconds to combine. Increase to medium speed and beat for 3-4 minutes.
Using a Hand Mixer: Pour the wet ingredients into the dry ingredients and beat on low speed to combine, about 1 minute. Increase to medium-high speed and beat for 4-5 minutes.
By Hand: This requires more effort but is definitely doable. Stir vigorously with a wooden spoon for about 5-7 minutes. You want to incorporate air and create a smooth, thick batter.
What You’re Looking For: The mixture will be a thick batter, not a traditional dough—this is normal and correct! It should be smooth, have a slight sheen, and be too thick to pour but too wet to knead. Think somewhere between cake batter and cookie dough in consistency.
Transferring to the Pan
Using a rubber spatula, scrape all the batter into your prepared loaf pan. This batter is sticky and thick, so work patiently. Use the spatula to spread it evenly into the corners and smooth the top as much as possible.
Pro tip: Lightly wet your hands or the spatula with water to prevent sticking while smoothing the top. You can also spray the spatula with cooking spray.
The First Rise
This is a crucial step—don’t skip it!
Cover the pan loosely with lightly greased plastic wrap or a damp kitchen towel. Place it in a warm, draft-free location and let it rise for 45-60 minutes. The dough should rise noticeably, coming close to or just above the rim of the pan.
Creating a Warm Environment:
- Place the pan in your oven with just the oven light on (don’t turn the oven on!)
- Set it on top of your refrigerator, which generates gentle warmth
- Place it near (not on) a radiator or heating vent
- Create a proofing box by placing a pan of hot water on the bottom oven rack and the bread on the rack above it
What If It Doesn’t Rise? If your dough hasn’t risen after 60 minutes, your yeast might be dead (check the expiration date) or your water was too hot (which kills yeast) or too cold (which makes yeast inactive). You’ll need to start over if there’s absolutely no rise.
Baking the Bread
About 15 minutes before the rising time is complete, preheat your oven to 375°F (190°C). Position a rack in the lower third of the oven—this helps the bottom bake properly without the top over-browning.
Remove the cover from the risen loaf and place it on the lower rack. Bake for 45-55 minutes until:
- The top is deep golden brown
- The bread sounds hollow when tapped
- An instant-read thermometer inserted in the center reads 205-210°F (96-99°C)
If the top is browning too quickly (check around 30 minutes), loosely tent the bread with aluminum foil for the remaining baking time. This prevents burning while allowing the interior to finish cooking.
Cooling and Slicing
This step requires patience but is absolutely crucial:
Remove the bread from the oven and let it cool in the pan for 10 minutes. Then, using the parchment overhang or a butter knife around the edges, carefully remove the loaf from the pan and transfer it to a wire cooling rack.
Here’s the hard part: Let it cool COMPLETELY before slicing—at least 1-2 hours, preferably longer. I know it’s tempting to slice into warm bread, but gluten-free bread needs this cooling time to finish setting up. If you slice it while warm, it will be gummy and fall apart.
Slicing Tips:
- Use a sharp serrated knife
- Use a gentle sawing motion rather than pressing down
- For the cleanest slices, refrigerate the bread for an hour before slicing
Tips for Perfect Gluten-Free Bread Every Time
Measuring Flour Accurately
Gluten-free baking is more sensitive to measurement errors than regular baking. For best results:
Use a kitchen scale: This is the most accurate method. Each type of flour has a different density, so weighing ensures consistency.
Spoon and level method: If measuring by volume, don’t scoop directly from the bag. Spoon flour into your measuring cup and level off with a straight edge. Scooping packs the flour and can result in using too much.
Don’t pack the flour: Keep it light and fluffy in the measuring cup.
Understanding Flour Substitutions
Not all gluten-free flours are created equal:
What works well:
- White rice flour (neutral flavor, good structure)
- Brown rice flour (nuttier flavor, denser texture)
- Sorghum flour (mild, wheat-like flavor)
- Oat flour (certified gluten-free only!)
What doesn’t work well:
- Coconut flour (absorbs too much liquid)
- Almond flour (too dense, changes texture significantly)
- Chickpea flour (strong flavor, bean-like taste)
Using store-bought blends: Look for blends that contain multiple flours plus a starch. Avoid single-flour products—you need variety for proper texture and flavor.
The Role of Binding Agents
Xanthan gum: Acts as a glue, helping the bread hold together. Too much makes bread gummy; too little makes it crumbly. If you’re sensitive to xanthan gum, you can use guar gum in the same amount.
Psyllium husk powder: Absorbs moisture and provides structure. Make sure you’re using the powder (finely ground), not the whole husks. It can sometimes cause a slightly purple tint in the bread—this is normal and doesn’t affect flavor.
Egg Substitutions
Eggs are crucial in gluten-free bread for structure and lift. If you need egg-free:
Replace each egg with:
- 1 “flax egg” (1 tablespoon ground flaxseed + 3 tablespoons water, let sit 5 minutes)
- 3 tablespoons aquafaba (liquid from canned chickpeas)
Be aware that egg-free versions will be denser and may not rise quite as high.
Storage and Freshness
Gluten-free bread typically doesn’t contain preservatives and can dry out faster than wheat bread:
Room Temperature: Store in an airtight container or sealed plastic bag for 2-3 days
Refrigerator: Wrap tightly and refrigerate for up to 5 days. The bread will firm up but stays fresh longer.
Freezer: This is your best option for long-term storage! Slice the bread first, then freeze in a freezer bag with parchment paper between slices for up to 3 months. Pull out individual slices to toast as needed.
Refreshing bread: If the bread becomes slightly stale, toast it! Gluten-free bread actually toasts beautifully and the slight drying helps it hold together better.
Troubleshooting Common Problems
Problem: The bread is too dense and heavy Solutions:
- Make sure you beat the batter for the full time—this incorporates air
- Check that your yeast is fresh and active
- Ensure the rising environment was warm enough
- Let it rise long enough—don’t rush this step
- Verify your oven temperature with an oven thermometer
Problem: The bread is crumbly and falls apart Solutions:
- Make sure you’re using xanthan gum or guar gum
- Don’t skip the psyllium husk powder
- Let the bread cool completely before slicing
- The batter may have been too dry—add 2 tablespoons more water next time
Problem: The top cracked significantly Solutions:
- This is actually somewhat normal for gluten-free bread
- Try smoothing the top more carefully before baking
- Make sure the pan isn’t overfilled
- Some cracking is fine and doesn’t affect taste or texture
Problem: The bread has a gummy center Solutions:
- Bake it longer—use the thermometer test (should read 205-210°F)
- Make sure your oven temperature is accurate
- Let it cool completely—the center continues to firm up during cooling
- The batter may have been too wet—reduce water by 2 tablespoons next time
Problem: The bread didn’t rise Solutions:
- Check that your yeast isn’t expired
- Make sure the water wasn’t too hot (kills yeast) or too cold (doesn’t activate it)
- Verify your rising location was warm enough
- Don’t add salt directly to yeast—it can inhibit rising
Problem: There’s a purple tint to the bread Solutions:
- This comes from psyllium husk reacting with baking
- It’s completely harmless and doesn’t affect flavor
- Adding a bit more acid (extra vinegar) can help minimize it
- Some people don’t mind it—it’s purely cosmetic
Delicious Variations
Once you’ve mastered the basic loaf, try these variations:
Herb and Garlic Bread
Add to the dry ingredients:
- 2 teaspoons Italian seasoning
- 1 teaspoon garlic powder
- 2 tablespoons grated Parmesan cheese
Cinnamon Raisin Bread
Add to the batter:
- 2 teaspoons ground cinnamon
- ⅔ cup raisins (tossed in a little flour) Increase sugar to 3 tablespoons
Seeded Whole Grain Bread
Add to the batter:
- 2 tablespoons each: sunflower seeds, pumpkin seeds, sesame seeds Replace ½ cup white rice flour with brown rice flour for nuttier flavor
Rosemary Olive Oil Bread
Use olive oil instead of butter Add:
- 2 tablespoons fresh chopped rosemary
- ¼ cup chopped olives (optional)
Honey Oat Bread
Replace sugar with 3 tablespoons honey Add ¼ cup certified gluten-free oats to the batter Sprinkle oats on top before baking
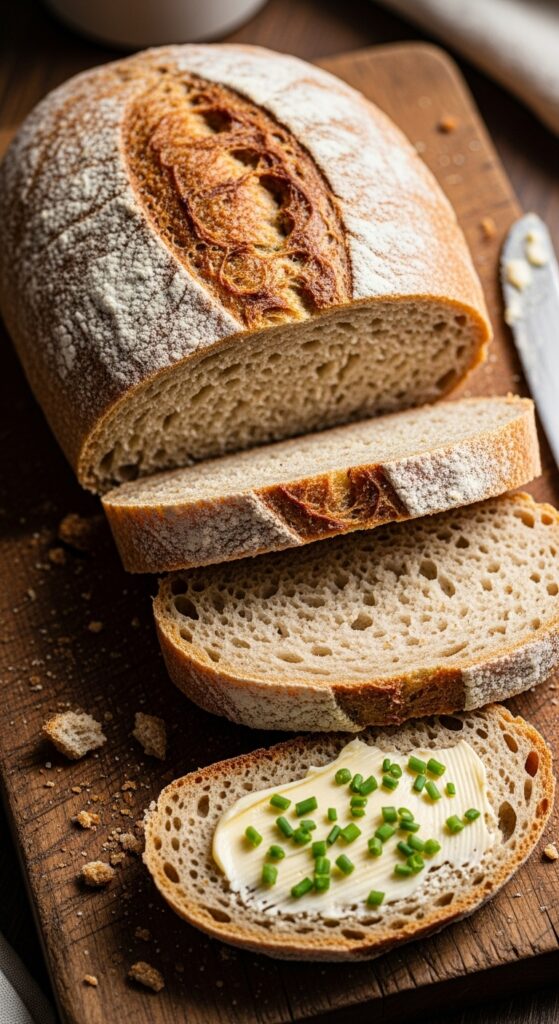
What to Do With Your Gluten-Free Bread
This bread is incredibly versatile:
Sandwiches: The bread slices beautifully and holds up well to fillings without getting soggy
Toast: Toasts perfectly—actually, I think gluten-free bread makes some of the best toast!
French Toast: Makes incredible French toast since the bread absorbs the egg mixture perfectly
Bread Crumbs: Let slices get stale, then process into crumbs for breading or topping casseroles
Croutons: Cube and toast with olive oil and seasonings for salad croutons
Panini or Grilled Cheese: Grills beautifully and gets wonderfully crispy
Bread Pudding: Day-old bread is perfect for sweet or savory bread pudding
The Science Behind Gluten-Free Bread
Understanding why this recipe works helps you troubleshoot and modify it successfully:
Why the batter is so wet: Gluten-free flours absorb liquid differently than wheat flour, and we need extra moisture to prevent dryness
Why we beat it so long: Since there’s no gluten to develop through kneading, we create structure by beating air into the batter and activating the binding agents
Why it needs to cool completely: The starches in gluten-free flour continue to set up as the bread cools, finalizing the structure
Why we use multiple flours: Each flour brings different properties—structure, softness, flavor, binding—and together they mimic wheat flour’s complex characteristics
Why eggs are so important: They provide structure through protein coagulation, emulsify fats, and help with leavening
Final Thoughts
Making great gluten-free bread at home is absolutely achievable, and this recipe proves it. While it requires some different techniques and ingredients than traditional bread, the process is actually quite straightforward once you understand the basics. The result—soft, sliceable, genuinely delicious bread—is so worth the effort.
The key to success is following the recipe closely the first time, especially regarding measurements, mixing time, and cooling time. Once you’ve made it successfully once or twice, you’ll develop a feel for the batter consistency and rising behavior, and you can start experimenting with flavors and additions.
Remember that gluten-free baking is a bit more sensitive to variations than wheat-based baking, so small changes can have bigger effects. Keep notes about what works and what doesn’t in your particular kitchen, and don’t be discouraged if your first loaf isn’t perfect—even an imperfect loaf is likely to be better than anything you can buy!
So preheat that oven, mix up this batter, and get ready to enjoy fresh, homemade gluten-free bread that actually tastes like real bread. Your sandwiches, toast, and French toast will never be the same!
Happy gluten-free baking!
Quick Recipe Summary
Prep Time: 15 minutes
Rise Time: 45-60 minutes
Bake Time: 45-55 minutes
Cooling Time: 2 hours
Total Time: About 4 hours
Yield: 1 loaf (about 12 slices)
Storage: Room temperature 2-3 days, refrigerated 5 days, frozen 3 months