The Ultimate Guide to Foolproof Beef Brisket Recipe: Your Path to Smoky, Tender Perfection
Let’s be honest. Beef brisket can feel intimidating. It’s a big, tough cut of meat that commands respect at barbecue joints and holiday tables alike. You’ve probably heard horror stories of dry, tough brisket or spent a small fortune on someone else’s masterpiece.
What if I told you that making incredibly juicy, tender, and flavorful beef brisket at home is not only possible but straightforward? The secret isn’t a magic rub or a secret ingredient—it’s understanding that brisket isn’t about quick cooking; it’s about low, slow patience.
This guide will walk you through every single step, from choosing the right cut to that perfect, bendy slice. Whether you’re using a smoker, an oven, or a slow cooker, we’re going to demystify the process. Get ready to create a brisket so good, it might just become your signature dish.
Brisket at a Glance: What You’re Getting Into
| Aspect | Details |
|---|---|
| Prep Time | 30 minutes (plus optional overnight resting) |
| Cook Time | 8 – 12+ hours (low and slow is the rule) |
| Total Time | 8.5 – 12.5+ hours |
| Servings | 10-12 people (it’s a feast!) |
| Difficulty | Intermediate (it’s easy, but requires patience) |
| Key Principle | Low temperature + slow cooking + patience = meat that melts in your mouth |
Understanding Your Main Ingredient: The Brisket
Before we start, let’s talk about the star of the show. A whole packer brisket has two main parts:
- The Flat: The leaner, thinner part. It’s what you often see sliced in restaurants.
- The Point (or Deckle): The thicker, fattier part. This is where burnt ends come from.
For your first time, a whole packer brisket (10-14 lbs) is ideal because the fat from the point bastes the flat, keeping the whole thing juicy. If you can only find the flat cut (5-7 lbs), that’s okay too—just be extra vigilant about not overcooking it.
Look for: A brisket with good fat cap coverage (about ¼-inch thick) and flexible meat.
The Simple Arsenal: Ingredients & Tools
The Brisket Rub:
- 1 whole packer brisket (10-14 lbs)
- ¼ cup Coarse Kosher Salt
- ¼ cup Coarse Black Pepper
*(Yes, that’s it! This 50/50 “Dalmatian Rub” is a Texas barbecue classic and lets the beef flavor shine.)*
Optional Extras for More Flavor:
- 2 tablespoons garlic powder
- 1 tablespoon onion powder
- 1 tablespoon paprika (for color)
For Cooking:
- Wood chips/chunks for smoking (hickory, oak, or post oak are classic)
- Beef broth or water for the pan (if using an oven)
Essential Tools:
- Smoker, Oven, or Slow Cooker
- Probe Thermometer (CRITICAL!)
- Heavy-Duty Aluminum Foil or Butcher Paper
- Sharp Knife
- Large Cutting Board
The Step-by-Step Roadmap to Brisket Bliss
Step 1: The Trim (Shaping for Success)
- Pat Dry: Take your brisket out of the package and pat it completely dry with paper towels.
- Trim the Fat: You want to leave about ¼-inch of fat on the fat cap to protect the meat during the long cook. Trim off any hard, thick chunks of fat. Also, trim any thin, ragged pieces of meat from the edges, as they will burn.
- Find the Shape: Your goal is to create a streamlined, aerodynamic shape so the heat and smoke flow evenly around the meat.
Step 2: The Rub (Seasoning Simply)
- Apply Generously: Apply a very heavy coat of the salt and pepper rub (and any optional spices) to every single surface of the brisket—sides, top, bottom, and edges. Don’t be shy! A lot will form a crust (“bark”) that you won’t eat.
- Optional Rest: For deeper flavor, you can wrap the seasoned brisket and let it rest in the fridge for up to 24 hours. If you’re short on time, you can apply the rub and go straight to cooking.
Step 3: The Smoke (The Low & Slow Cook)
This is the longest phase, where the magic happens. The connective tissue (collagen) slowly breaks down into rich, unctuous gelatin.
If Using a Smoker (The Gold Standard):
- Temperature: Preheat your smoker to 225°F (107°C). Use oak, hickory, or pecan wood for the best flavor.
- Placement: Place the brisket fat-side up on the smoker grate, with the point (thicker end) facing the main heat source.
- The Wait: Insert your probe thermometer into the thickest part of the flat. Now, close the lid and DON’T PEEK. Every time you open the lid, you release heat and smoke, adding to the cooking time. Let it cook undisturbed.
If Using an Oven (A Fantastic Alternative):
- Temperature: Preheat your oven to 275°F (135°C).
- Setup: Place the brisket on a wire rack set inside a roasting pan. You can add a couple of cups of beef broth to the bottom of the pan to keep the environment humid.
- The Wait: Cook with the probe thermometer in place, just like with the smoker.
Step 4: The Stall & The Wrap (Pushing Through the Wall)
- The Stall: Around 150-170°F internal temperature, you’ll hit “the stall.” The brisket’s temperature will stop rising, sometimes for hours. This is normal! It happens because moisture evaporating from the meat’s surface is cooling it, like sweat.
- The Texas Crutch: To power through the stall and prevent the meat from drying out, we wrap it.
- Double up on heavy-duty foil or use pink butcher paper (which allows for a better bark).
- (Optional) Add a few tablespoons of beef broth, apple juice, or cider vinegar to the foil packet for extra moisture.
- Wrap the brisket tightly and return it to the smoker or oven.
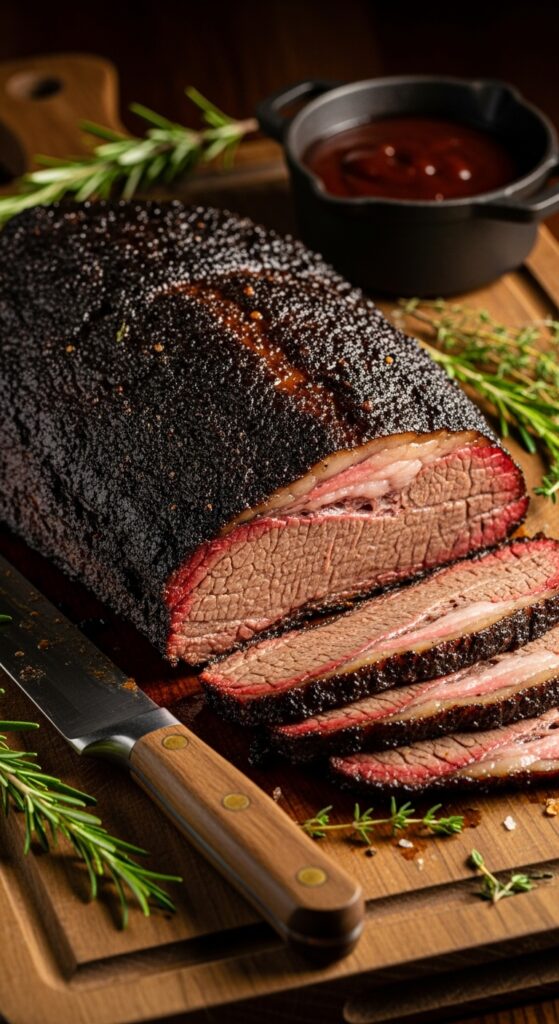
Step 5: The Finish (The Final Test)
- Keep cooking until the brisket reaches an internal temperature of 200-205°F (93-96°C). This is the sweet spot where the connective tissues have fully broken down, and the meat is “probe tender.”
- Probe Tender Test: This is more important than the temperature. Poke the thermometer probe into the thickest part of the flat and point. It should slide in with little to no resistance, like pushing into a jar of peanut butter.
Step 6: The Rest (The Most Important Step)
DO NOT SKIP THIS. Resting is what makes a brisket juicy.
- Remove the wrapped brisket from the heat.
- Leave it wrapped and place it in an empty cooler (like an Igloo) lined with towels, or in your oven (turned off). The goal is to let it cool down very, very slowly.
- Let it rest for a minimum of 1 hour, but 2 hours is even better. This allows the muscle fibers to relax and reabsorb all the juices. If you slice it immediately, all those precious juices will run out onto the cutting board.
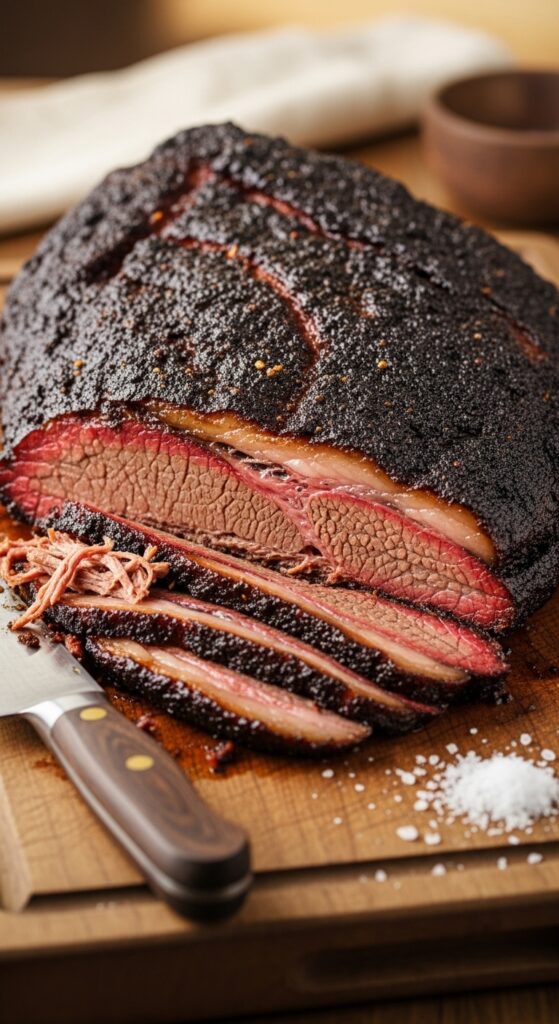
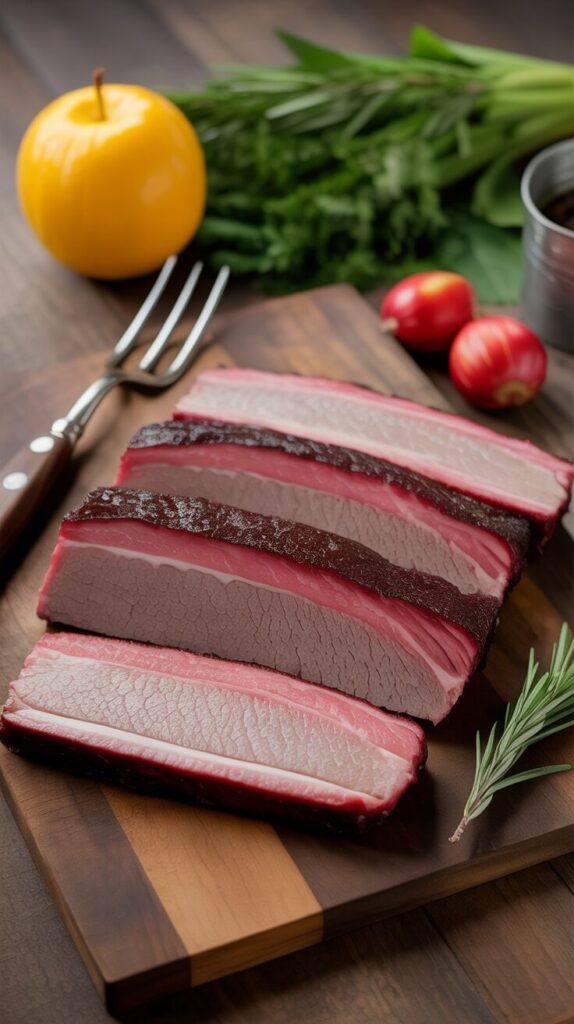
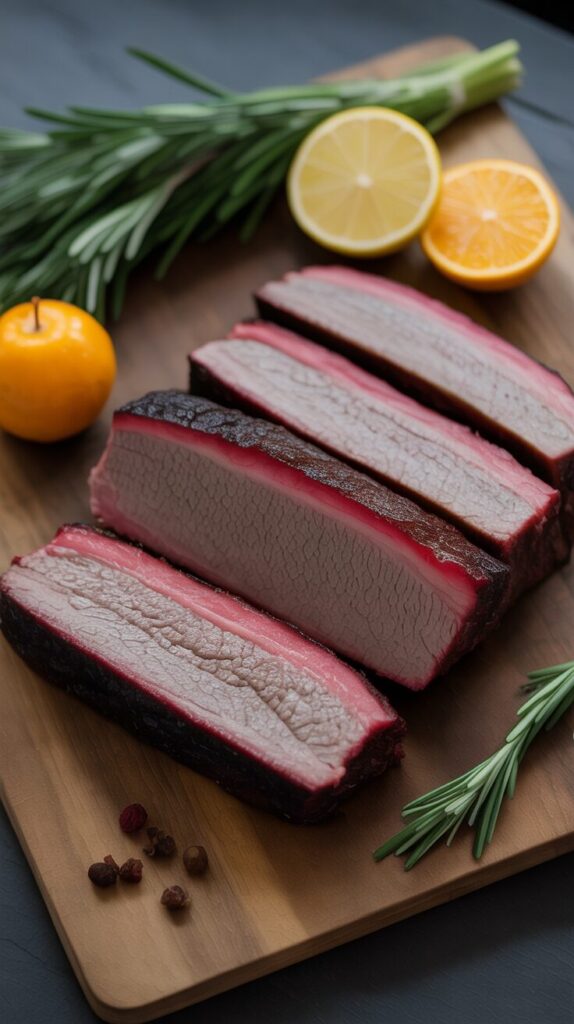
Step 7: The Slice (The Grand Finale)
- Unwrap the brisket and place it on a large cutting board. Notice the incredible “jiggle”!
- Separate the Point from the Flat: Find the layer of fat between the two muscles and carefully slice through it.
- Slice Against the Grain: Look for the direction of the muscle fibers (the “grain”) and slice perpendicular to it. This is what makes the brisket tender to eat. The flat and the point have grains that run in different directions, so adjust your slicing for each.
- Slice to your desired thickness (about a pencil-width is standard).
Pro-Tips for a Perfect Brisket Every Time
- Temperature is Your Guide, Feel is Your Confirmation. The 203°F target is a guide, but “probe tender” is the true sign it’s done.
- Don’t Peek! Maintain a consistent cooking temperature by keeping the smoker or oven door closed.
- The Rest is Non-Negotiable. A properly rested brisket will be noticeably juicier than one sliced hot.
- Invest in a Good Thermometer. A reliable probe thermometer is the single most important tool for nailing brisket.
Frequently Asked Questions
Q: My brisket is done hours early. What do I do?
A: Congratulations! A fully rested brisket is a happy brisket. A brisket can rest in a good cooler for 4-6 hours and still be piping hot. This is actually ideal.
Q: Why was my brisket dry?
A: The most common causes are overcooking (going past probe-tender), under-resting, or using a brisket flat without the point to protect it.
Q: Can I make brisket in a slow cooker?
A: Yes! Trim and season the brisket. Sear it in a hot pan first for flavor. Place it in the slow cooker with a cup of broth. Cook on LOW for 8-10 hours until tender. It won’t have a smoky bark, but the meat will be fall-apart tender.
Q: What do I do with the point?
Cubed, tossed with more rub and sauce, and returned to the smoker for 1-2 hours to make burnt ends—the ultimate barbecue delicacy.
Conclusion: You Are a Brisket Master
You’ve done it. You’ve navigated the trim, survived the stall, perfected the wrap, and mastered the rest. You now hold the knowledge to create a truly spectacular centerpiece meal that feeds a crowd and creates lasting memories.
Serving this brisket is a moment of pride. Pile those beautiful, glistening slices onto a platter and serve it with classic sides like potato salad, coleslaw, baked beans, and white bread. Then, sit back and watch as the compliments roll in. You didn’t just cook dinner; you crafted an experience.