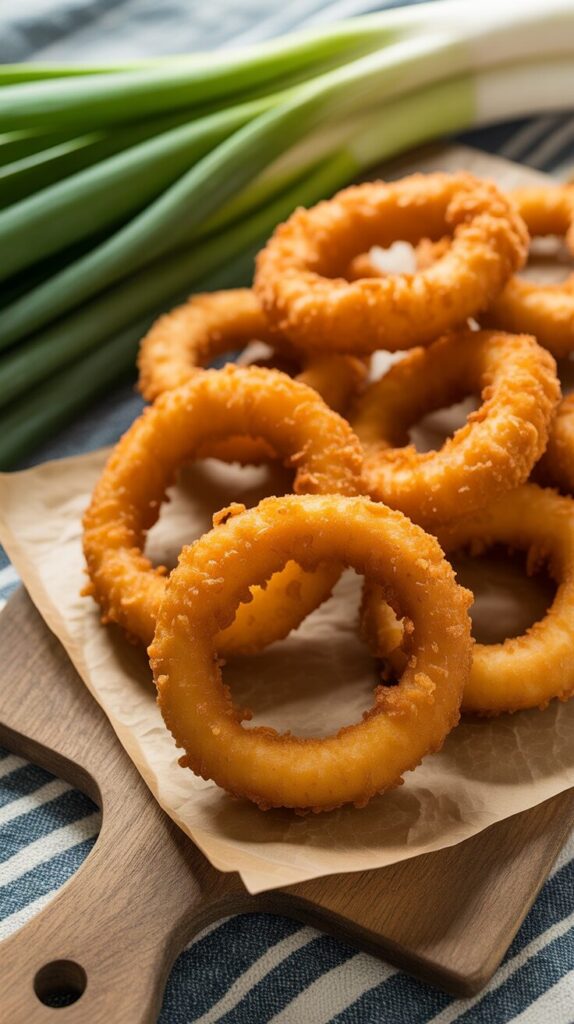
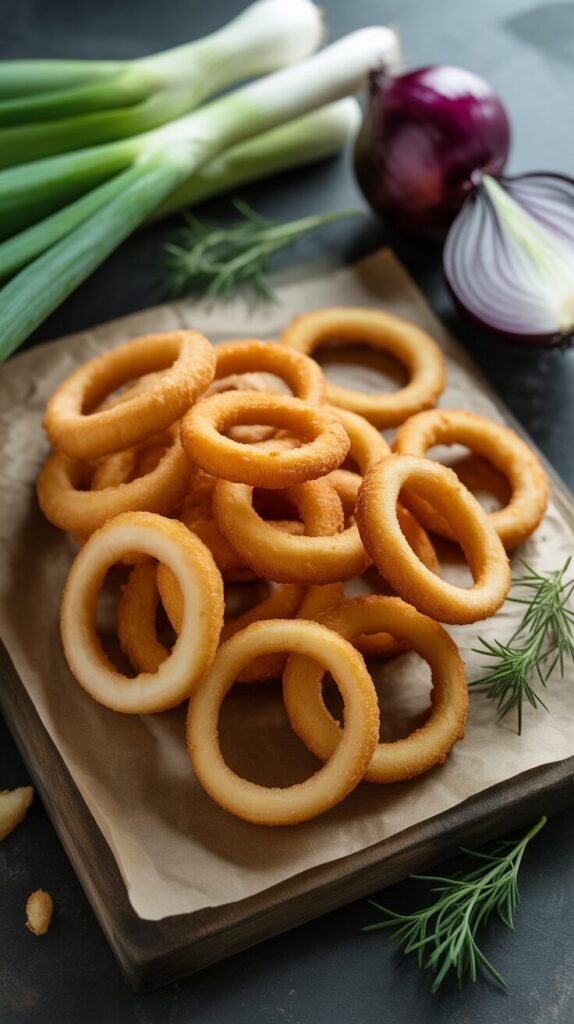
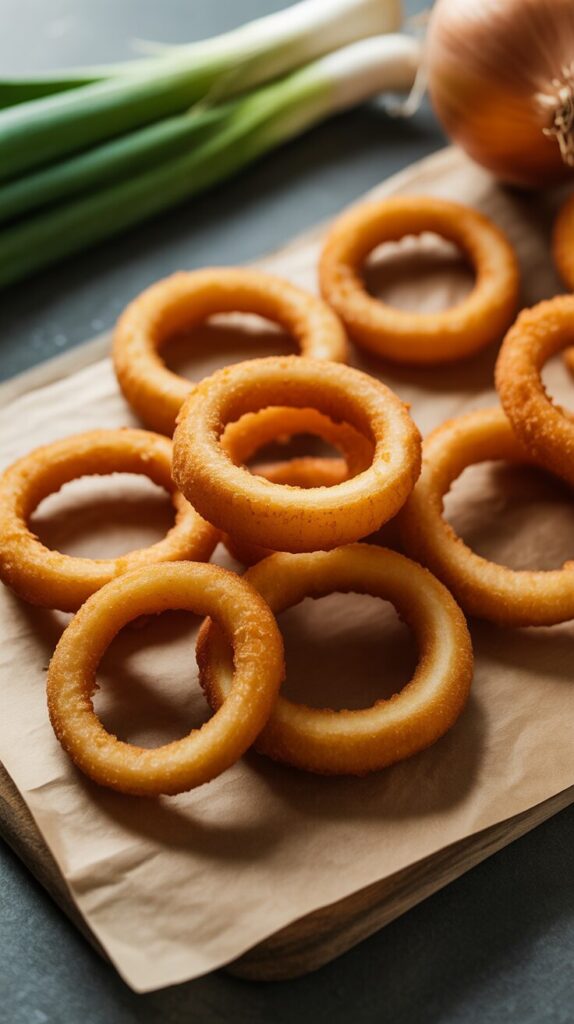
The Ultimate Crispy Onion Rings Recipe: Your Guide to Golden, Crunchy Perfection
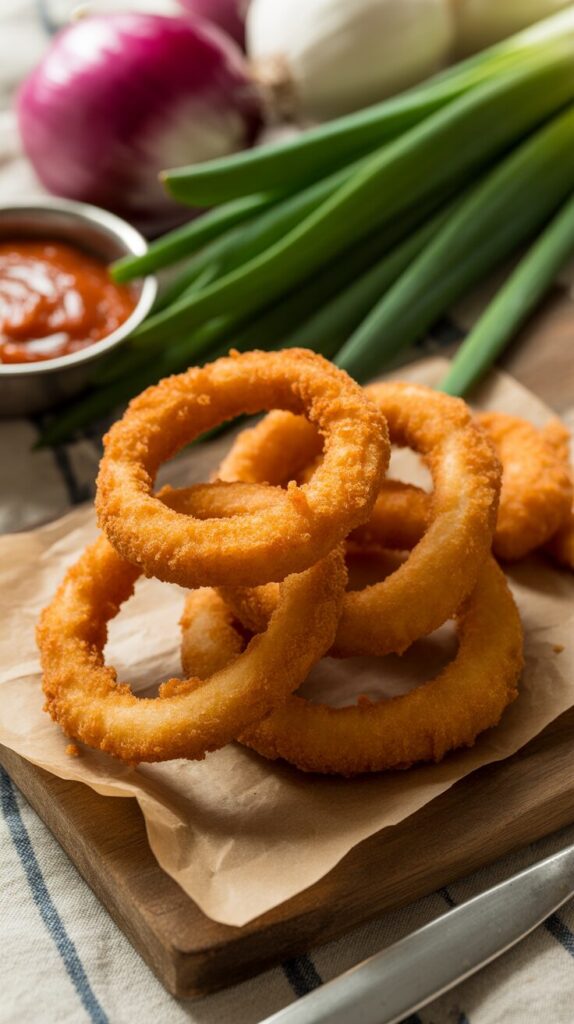
There’s something universally irresistible about a perfect onion ring. That satisfying CRUNCH as you bite through a golden, crispy coating, followed by the sweet, tender slice of onion inside… it’s a textural masterpiece. But let’s be honest: too often, onion rings are a disappointment—greasy, soggy, or with a coating that slides right off the onion in one disappointing sheath.
What if you could consistently create onion rings that rival the best you’ve ever had at a restaurant? Rings that are shatteringly crisp, never greasy, and have a coating that adheres perfectly?
This recipe is your foolproof guide. We’ll explore the secrets to achieving that ideal crunch, from the double-dredge technique to controlling the oil temperature. Get ready to turn a humble onion into a legendary side dish or snack.
Onion Rings at a Glance
| Category | Details |
|---|---|
| Prep Time | 30 minutes (includes soaking) |
| Cook Time | 20-30 minutes (in batches) |
| Total Time | About 1 hour |
| Servings | 4-6 |
| Difficulty | Easy |
Gathering Your Ingredients: The Foundation of Flavor & Crunch
The right ingredients and a simple technique are all you need.
The Star & Its Soak:
- 2 large sweet onions (Vidalia or Spanish are ideal), about 1 ½ lbs total
- 2 cups buttermilk (or 2 cups milk + 1 tbsp vinegar, left to sit for 5 minutes)
- 1 teaspoon salt (for the buttermilk brine)
The Dredging Station:
- 1 ½ cups all-purpose flour
- ½ cup cornstarch (the secret to an extra-crispy crust)
- 1 tablespoon paprika
- 2 teaspoons garlic powder
- 1 teaspoon onion powder
- 1 teaspoon salt
- ½ teaspoon black pepper
The Wet Batter:
- 1 cup cold club soda or sparkling water (creates a light, airy batter)
- 1 cup of the dry flour mixture (from above)
For Frying:
- 1-2 quarts neutral oil (vegetable, canola, or peanut oil)
Your Step-by-Step Guide to Perfect Onion Rings
This process is all about building layers of adhesion and flavor. Don’t rush the steps!
Step 1: Slice and Soak (The Secret to Flavor & Adhesion)
- Slice the Onions: Peel the onions and slice them into ½-inch thick rounds. Separate the slices into individual rings. Discard the very small inner rings or save them for another use.
- Soak in Buttermilk: In a large bowl, whisk the buttermilk with 1 teaspoon of salt. Place the onion rings in the bowl, ensuring they’re all submerged. Soak for at least 30 minutes (or up to 2 hours in the fridge). This step tenderizes the onions, tames their sharp bite, and helps the coating stick.
Step 2: Set Up Your Dredging Station
- Dry Mix: In a shallow bowl or pie plate, whisk together the all-purpose flour, cornstarch, paprika, garlic powder, onion powder, salt, and pepper.
- Wet Batter: In a separate bowl, take 1 cup of this seasoned flour mixture and whisk in the cold club soda until just combined. A few lumps are perfectly fine—overmixing will make the coating tough.
Step 3: The Double-Dredge (The Key to a Perfect Coat)
This is the most important step for preventing the coating from sliding off.
- Dredge in Dry: Working with one ring at a time, remove it from the buttermilk, letting the excess drip off. Dredge it thoroughly in the seasoned flour mixture, shaking off any excess.
- Dip in Batter: Next, dip the floured ring into the wet club soda batter, allowing the excess to drip back into the bowl.
- Dredge Again (Optional but Recommended): For an extra-thick, crispy coating, do a second quick dredge in the dry flour mixture.
Place the coated rings in a single layer on a parchment-lined baking sheet as you work.
Step 4: Fry to Golden-Brown Perfection
- Heat the Oil: Pour oil into a heavy-bottomed pot (like a Dutch oven) to a depth of about 3 inches. Heat over medium-high heat to 375°F (190°C). Using a thermometer is crucial for the right temperature.
- Fry in Batches: Carefully lower a few onion rings into the hot oil. Do not overcrowd the pot, or the temperature will drop and make them greasy. Fry for 2-4 minutes, flipping once, until they are a deep golden brown and crispy.
- Drain Properly: Use a spider strainer or tongs to transfer the fried rings to a wire rack set over a baking sheet. Do not drain on paper towels, as this can trap steam and make the bottom side soggy. The wire rack keeps them crisp all over.
- Season Immediately: Sprinkle the hot onion rings with a little extra salt as soon as they come out of the oil.
Step 5: Serve Immediately!
Onion rings are at their absolute peak the moment they are cool enough to eat. Serve them right away with your favorite dipping sauces.
Pro-Tips for Unbeatable Onion Rings
- Oil Temperature is King: If the oil is too cool, the rings will be greasy. If it’s too hot, the coating will burn before the onion cooks through. Maintain 365-375°F.
- Keep the Batter Cold: The cold club soda creates tiny bubbles as it hits the hot oil, resulting in a lighter, crispier texture.
- The Wire Rack Advantage: Draining on a wire rack is a game-changer for crispy foods. It allows air to circulate, preventing sogginess.
- Use Sweet Onions: Vidalia or other sweet onions have a milder flavor and higher sugar content, which makes them taste amazing when cooked.
- Patience with Batches: Frying in small batches ensures the oil temperature stays consistent, leading to perfectly cooked rings every time.
Baked Onion Ring Alternative
For a lighter version, you can bake them!
- Prepare the onions using the same double-dredge method.
- Place the coated rings on a parchment-lined baking sheet that has been lightly sprayed with oil.
- Generously spray the tops of the onion rings with cooking spray or an oil mister.
- Bake at 425°F (220°C) for 15-20 minutes, flip, spray again, and bake for another 10-15 minutes until golden and crispy.
Dipping Sauce Ideas
- Classic Fry Sauce: Mix ½ cup mayo, 2 tbsp ketchup, 1 tsp pickle brine, and a dash of garlic powder.
- Chipotle Aioli: Mix ½ cup mayo with 1-2 minced chipotles in adobo sauce, a squeeze of lime, and a pinch of salt.
- Buttermilk Ranch: Use the leftover buttermilk to make a homemade ranch dressing.
- Spicy Ketchup: Add your favorite hot sauce or sriracha to ketchup.
Frequently Asked Questions
Q: Why did the coating fall off my onion rings?
A: This is usually due to skipping the initial dry dredge or not shaking off excess buttermilk. The dry flour creates a “glue” for the wet batter to stick to.
Q: Can I make the batter ahead of time?
A: It’s best to make the batter right before frying. Letting it sit can deflate the bubbles from the club soda, resulting in a denser coating.
Q: What’s the best oil for frying?
A: Use an oil with a high smoke point and neutral flavor. Vegetable, canola, and peanut oil are all excellent choices.
Q: Can I use a different type of onion?
A: Yes, but the flavor will be stronger. Sweet onions are highly recommended for their mild, sweet result.
Conclusion: Your New Go-To Snack
You’ve just unlocked the secret to making onion rings that are guaranteed to impress. This method, with its buttermilk soak and double-dredge, delivers a flawless product every single time—crispy, golden, and never soggy.
Whether you’re serving them alongside a gourmet burger, a steak, or just enjoying a heaping plate on their own, these onion rings are a true treat. So, heat that oil, slice those onions, and get ready for the crunch heard ’round the kitchen