The Only Garlic Bread Recipe You’ll Ever Need
Let’s be honest. The garlic bread that comes frozen in a box or sits under a heat lamp at the restaurant can’t hold a candle to the real thing. That version is often soggy, bland, and just… sad.
What if you could make garlic bread that is the undisputed star of the dinner table? The kind that’s crispy and shatteringly crunchy on the outside, yet soft and pillowy on the inside, infused through and through with the rich, savory flavor of real garlic and butter? The kind that disappears from the basket before the main course even arrives?
This isn’t just a recipe; it’s a revelation. We’re going beyond sprinkling garlic powder on toast. We’re creating an iconic side dish that is laughably easy to make and will forever ruin you for the store-bought kind. Get ready to meet your new culinary secret weapon.
Why This Recipe is a Game Changer
The secret to unforgettable garlic bread lies in three simple principles:
- Fresh is Best: We’re using real, fresh garlic—no powder, no jars. The flavor is brighter, more potent, and infinitely more complex.
- The Butter Blend: We’re not just melting butter. We’re creating a flavorful compound butter that soaks into every nook and cranny.
- The Two-Stage Bake: A technique that ensures the bread is heated through and wonderfully crispy, without burning the garlic.
Garlic Bread at a Glance
| Category | Details |
|---|---|
| Prep Time | 10 minutes |
| Cook Time | 15 minutes |
| Total Time | 25 minutes |
| Servings | 4-6 |
| Difficulty | Easy |
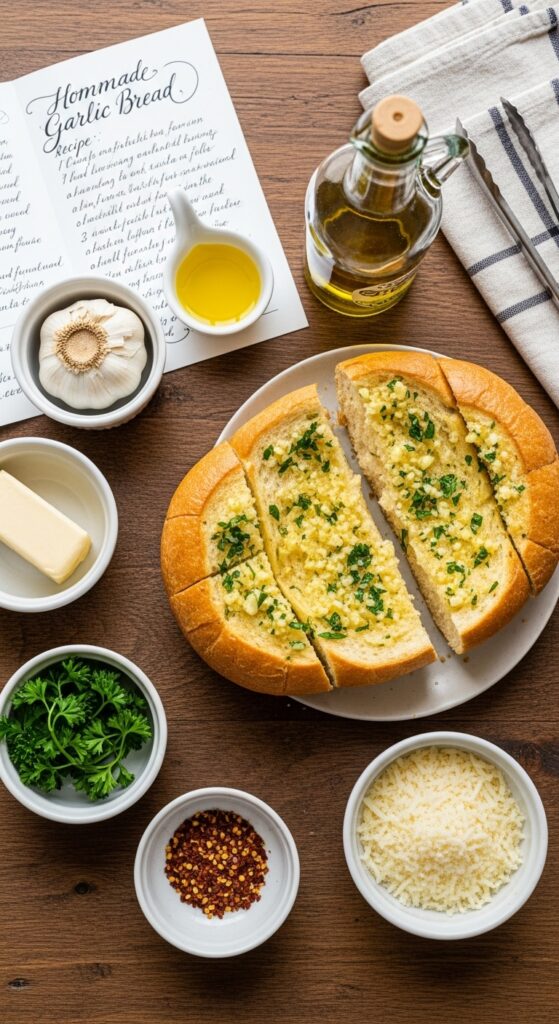
Gathering Your Simple, Powerful Ingredients
The beauty of this recipe is that you only need a handful of high-quality ingredients to create something extraordinary.
The Foundation:
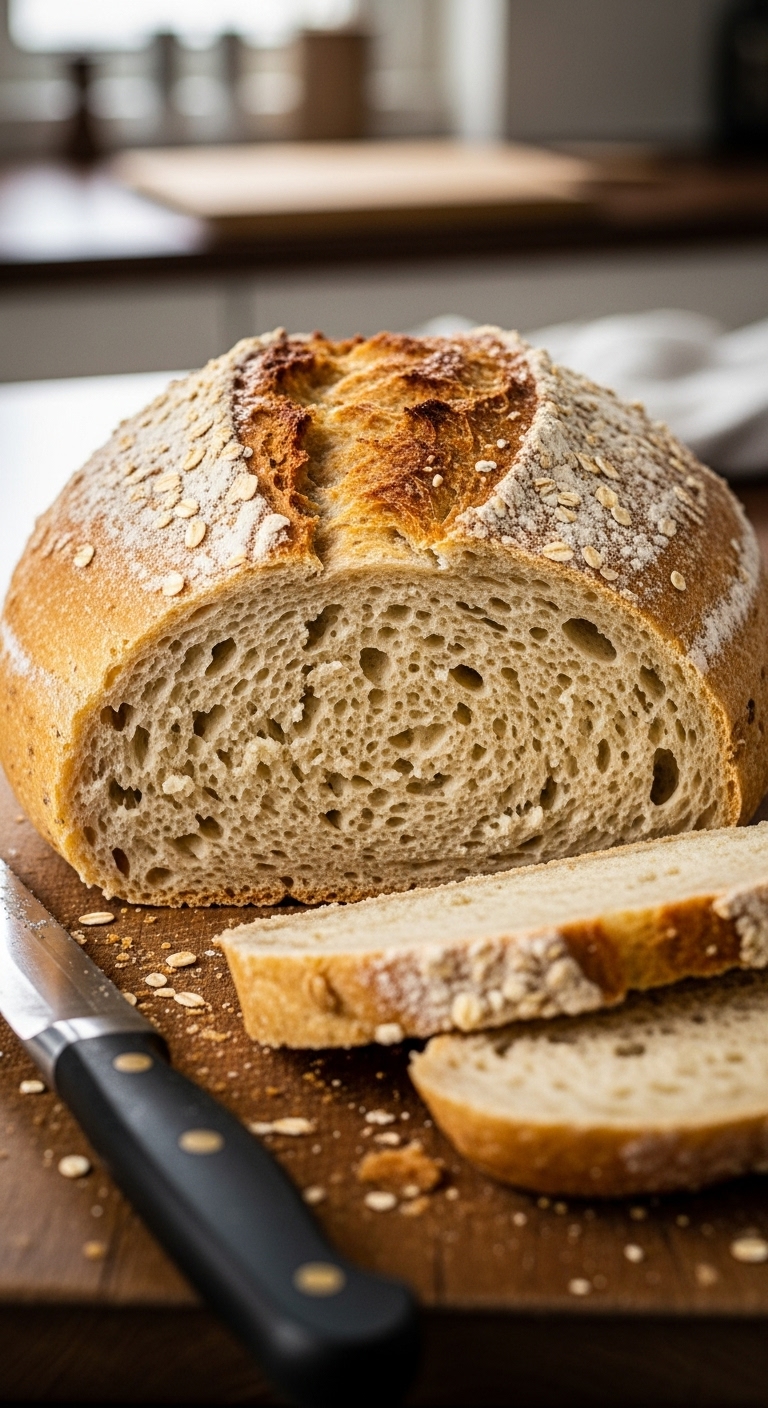
- 1 loaf Italian bread or French baguette (about 12-16 inches long)
- ½ cup (1 stick) unsalted butter, softened
The Flavor Powerhouse:
- 4-5 large cloves of garlic, finely minced (about 1 ½ tablespoons)
- 2 tablespoons fresh parsley, finely chopped
- ¼ cup freshly grated Parmesan cheese (optional, but highly recommended)
- ½ teaspoon salt
- ¼ teaspoon black pepper
- A pinch of red pepper flakes (optional, for a subtle kick)
Your Foolproof, Step-by-Step Guide
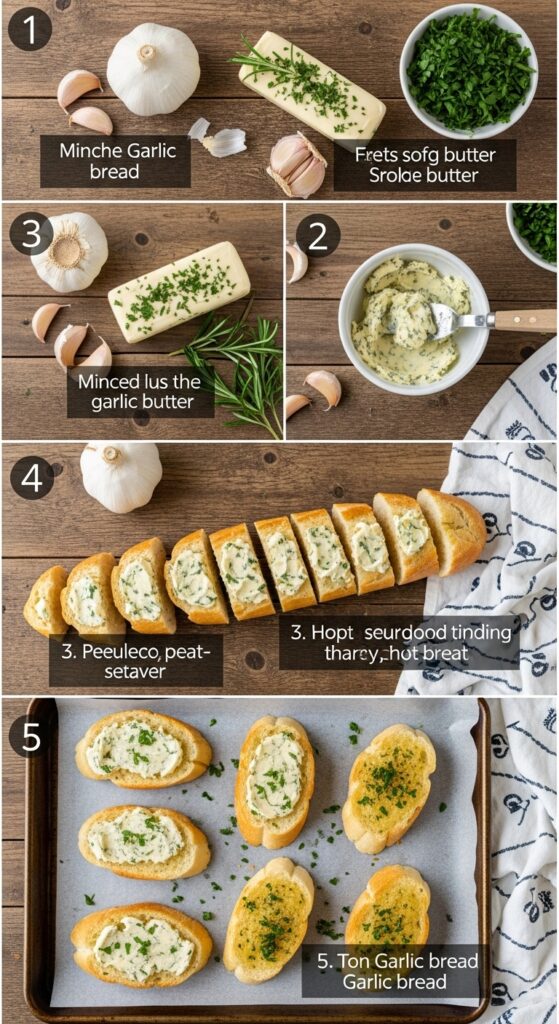
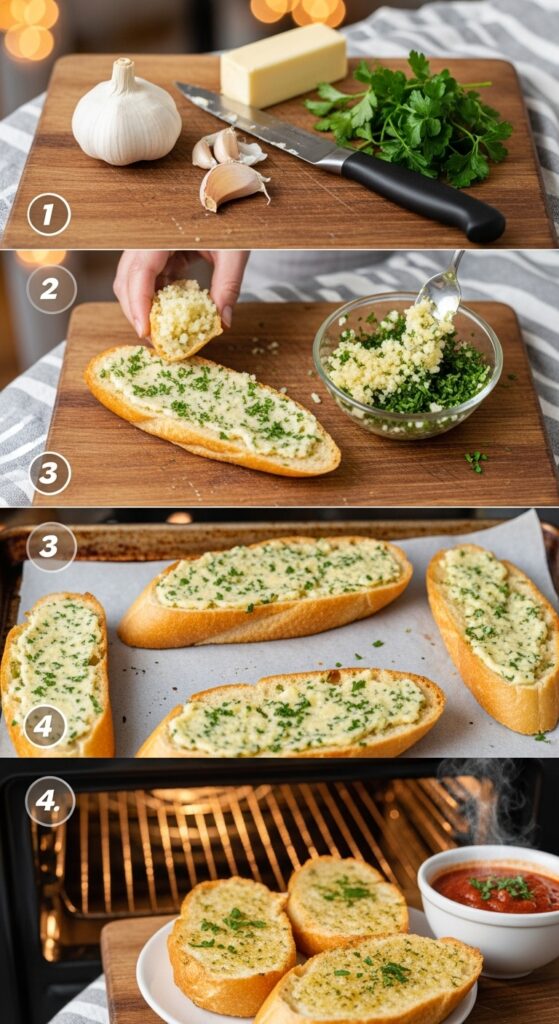
Step 1: The Perfect Prep
- Preheat your oven to 375°F (190°C). This slightly lower temperature allows the bread to get crispy without burning the fresh garlic.
- Prepare the bread: Slice your loaf in half lengthwise, so you have two long halves. Place them on a large baking sheet, cut-side up.
Step 2: Create the Magical Garlic Butter
This is the heart of the recipe. Do not rush this step!
- Ensure your butter is softened at room temperature. This is crucial for easy mixing.
- In a medium bowl, combine the softened butter, minced garlic, chopped parsley, Parmesan cheese, salt, black pepper, and red pepper flakes (if using).
- Mix vigorously with a fork or small spatula until everything is perfectly blended into a fragrant, speckled butter.
*Pro-Tip: For the absolute best flavor, let this butter mixture sit for 10-15 minutes. This allows the garlic flavor to mellow and infuse throughout the butter.*
Step 3: Apply the Butter Liberally
- Using a spoon or a small spatula, spread the garlic butter mixture evenly and generously over the cut sides of both bread halves. Don’t be shy! Get it all the way to the edges.
- For extra decadence, use the back of your spoon to create shallow grooves in the bread to help trap even more butter.
Step 4: The Two-Stage Bake (The Secret to Perfection)
- First Bake (Heating Through): Bake the garlic bread for 10 minutes on the center rack. This step melts the butter and heats the bread all the way through.
- Second Bake (Crisping Up): After 10 minutes, switch your oven to Broil (High). Watch it closely! Broil for 1-3 minutes, just until the edges are golden brown and crispy and the top is bubbly.
- WATCH IT LIKE A HAWK! The line between perfectly golden and tragically burnt is very thin under the broiler.
Step 5: The Final Touch
- Remove the baking sheet from the oven. Let the garlic bread rest for just a minute—it will be molten hot.
- Use a sharp serrated knife to slice the halves into 1-2 inch thick slices.
- Serve immediately while it’s hot, crispy, and irresistible.
Pro-Tips for Garlic Bread Excellence
- Mincing Matters: The finer you mince your garlic, the more it will disperse its flavor and the less likely you are to get a harsh, bitter bite.
- The Bread is Key: A sturdy, crusty loaf like Italian or French bread is essential. It holds up to the butter and won’t get mushy. A soft, pre-sliced sandwich loaf will not yield the same textural contrast.
- Don’t Use Melted Butter: Using softened butter that you spread is different from using butter that you melt and brush. Spreading creates a thicker, more substantial layer that soaks in better and creates a richer final product.
- Fresh Herbs Make a Difference: While dried parsley can work in a pinch, fresh parsley provides a bright, clean flavor that balances the richness of the butter and garlic.
5 Delicious Variations to Try
Once you master the classic, the world is your garlic-buttery oyster.
- Three-Cheese Garlic Bread: Add a handful of shredded mozzarella and provolone cheese on top of the butter before baking. Broil until bubbly and golden.
- Cheesy Garlic Knots: Cut the bread into strips instead of halves. Tie them into loose knots, coat in the garlic butter, and bake.
- Lemon-Herb Garlic Bread: Add the zest of one lemon and 1 tablespoon of chopped fresh basil or oregano to the butter mixture. Fantastic with seafood pasta.
- “Everything Bagel” Garlic Bread: Sprinkle the buttered bread with everything bagel seasoning before baking.
- Pesto Garlic Bread: Swirl 2-3 tablespoons of prepared pesto into the garlic butter before spreading.
Frequently Asked Questions
Q: Can I make garlic bread ahead of time?
A: Yes! You can assemble the bread (spread the butter on the halves) up to 24 hours in advance. Wrap it tightly in foil and refrigerate. Bake straight from the fridge, adding a few extra minutes to the initial baking time.
Q: How do I store and reheat leftovers?
A: Store leftover garlic bread in an airtight container at room temperature for 1 day. To reheat, place it on a baking sheet in a 350°F (175°C) oven for 5-10 minutes. Do not microwave it, as it will become soft and chewy.
Q: Can I use garlic powder instead of fresh garlic?
A: You can, but the flavor will be very different—more one-dimensional and less aromatic. If you must, use 1 teaspoon of garlic powder.
Q: My garlic always burns! What am I doing wrong?
A: You might be baking at too high a temperature or placing the bread too close to the broiler element. Follow the two-stage bake method (bake first, then a quick broil) and keep a very close eye on it during the broiling stage.
Conclusion: A Simple Side Dish, Perfected
You now possess the knowledge to create a side dish that can steal the show. This garlic bread is more than an accompaniment; it’s an experience—a buttery, garlicky, crispy, soft, and utterly irresistible cornerstone of a great meal.
Whether you’re serving it with a heaping bowl of spaghetti, a fresh garden salad, or a hearty soup, it will elevate the entire dining experience. So, grab a loaf of bread and a head of garlic, and get ready to make some magic. Your dinner table will thank you.